User guide
Creating a new campaign/mailing list
Select the Campaign tab and create a new campaign. In order for the campaign to be created in Apsis the campaign name and sender address must be specified. In most cases the campaign Type must also be set to Email campaign or similar, however this depends on how the Lime CRM database has been configured. Example:
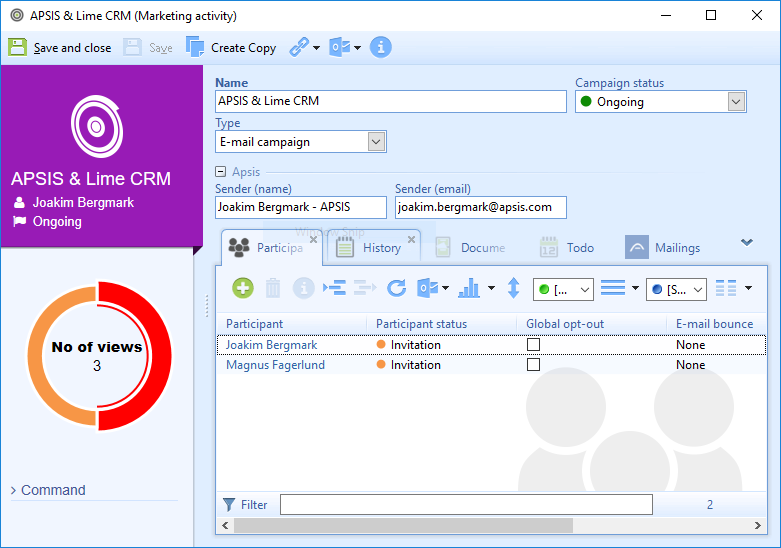
It will take a few minutes for the new mailing list to appear in Apsis after the campaign has been saved in Lime CRM, this is perfectly normal. Let's add some participants to the campaign by switching to the Person tab, selecting a number of persons having a valid email addresses and selecting Campaign | Add to | Name of campaign. This will open the Campaign Wizard and you will be given a possibility to specify more details about the participants. This is not necessary, so you can just press Next and Finish to complete the operation. The new subscribers will appear in Apsis after a few minutes time.
Use the Apsis web interface to create and send a newsletter to the new mailing list.
Follow-up and statistics
For each mailing that is sent to a mailing list a record is created in the Mailing tab in Lime CRM. A mailing could look somewhat like this:
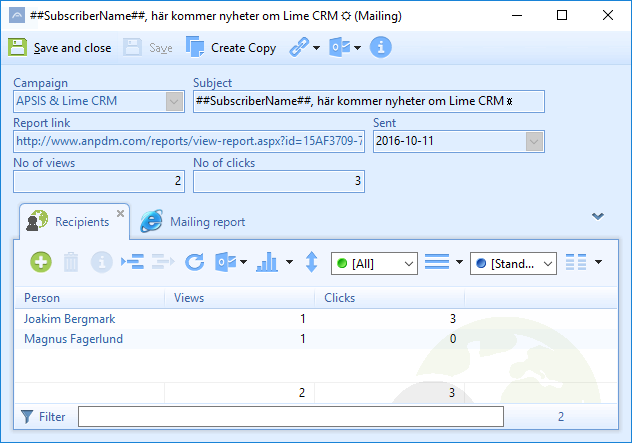
All mailing recipients that have actively viewed (i.e. loaded images) the content are shown in the list. This information is also available when opening individual persons (Mailings tab).
Bounce and global opt-out
When Apsis encounters problems sending email to an address this is flagged in the Email bounce field on the person in Lime CRM:

Persons found in the “opt-out all” list in Apsis will have the Global opt-out field checked. Note that it is not possible to move or remove a person to/from the opt-out all list using Lime CRM, the Apsis web interface must be used.